Billet Knobs
I got this idea from Tangoromeo of course. You will undoubtedly recognize the very blah plastic knobs and I thought some nice billet ones would be a good dress up.
My setup is a bit different than what he used.
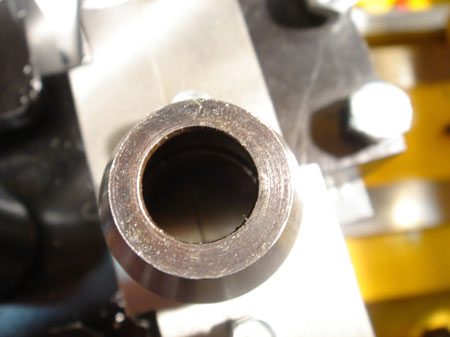
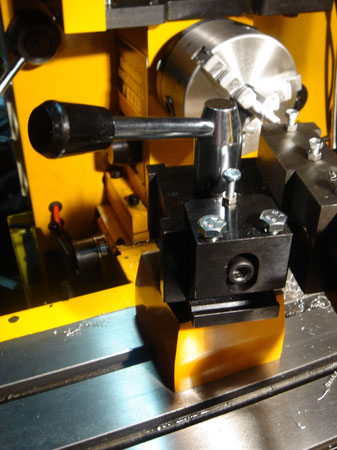
Uhhh okay, my tap handle (ordered from Shoptask) has a MAJOR wobble. After fidgeting with it for a while I discovered the tapered hole in the nose was drilled off center.
The claims, in several languages, on the box are looking a bit dubious. Oh, it says "precision tools."
Now boring this thing back on center sounds like a fun project...for another time. What now?
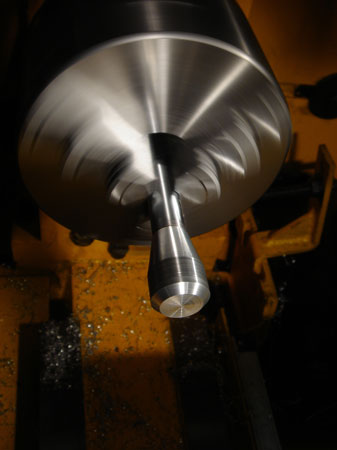
I decided to cut a one foot length of 1" stock and clamp it with most of the rod inside the spindle. My plan was to face/drill/tap/part the blank till I had all the pieces for my knobs.
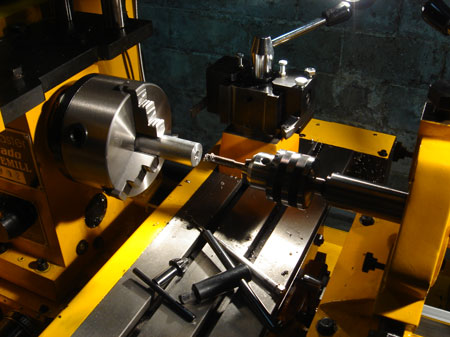
Ah but my tap is wonked. My solution was to chuck it up and slip the MT shank into the tailstock but not seat it.
I ran the tailstock in till the tap was close to being engaged in the hole. I put on a welding glove and cranked the chuck by hand to get the tap started. Every so often I would run the tailstock in more so I could get support, but not enough to engage the morse taper.
This actually worked quite well and I may forget about the tap handle transgression...maybe.
After I got a decent start on the threads I switched over to a tap handle that came with my tap/die set. This went much faster, but I wanted to be sure the tap was started on axis, which is why I used the tailstock for support.
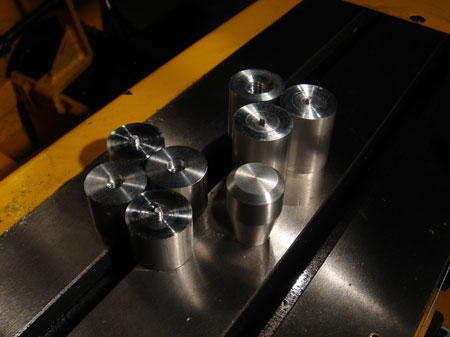
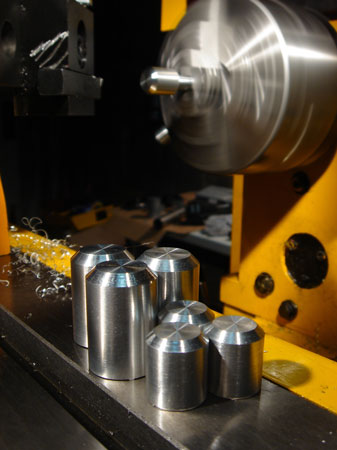
Here are most of the pieces after the first step. Since all the knobs are threaded, I just removed a handle from the machine, threaded on the knob and clamped the handle in the chuck.
The finished one is a group of four that I finished cause I wasn't patient enough to do all the taping in one go. My arm was pretty tired too.
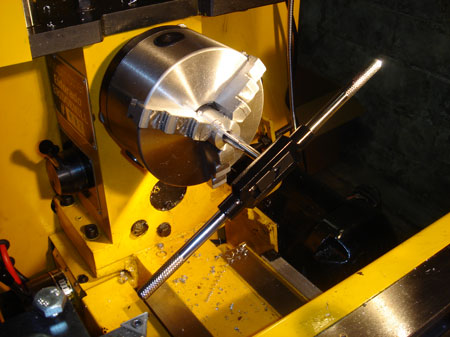
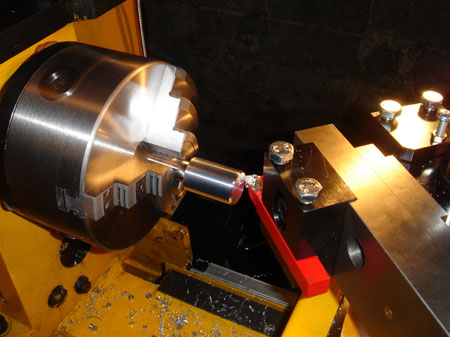
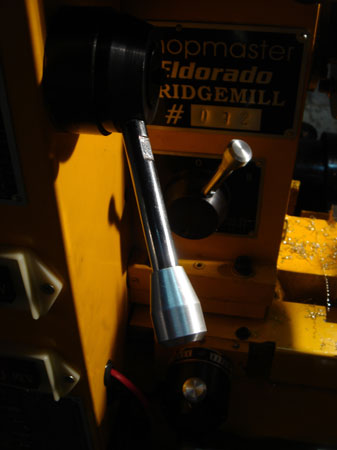
Here you can see the knob/handle setup I used for all the turning operations. I'm pretty sure I saw this idea somewhere else but I have no idea where. Anyway, it works great, thanks.
Everyone should get a good laugh at this. It seems (unless I'm being really stupid, which is entirely possible) that the compound that comes on the Shoptask can only be used to cut tapers with the machine in reverse.
The hole that mounts the compound to the post and the hole that mounts the tool holder to the compound are all vertically off center. So, if you want to mount the compound in reverse you have to flip the everything upside down. No biggie, but since the holes are off center...uh...nothing lines up quite right. Am I being stupid? Please someone tell me!
Now the funny part is, since my knobs are threaded on the handles, turning in reverse will unthread the knobs. Cooooool. I tried it anyway, being the curious fellow that I am. If anyone is wondering...the knob came off.
So...I flipped the stupid compound anyway. You can sort of see how the tool holder rides really low and you can't quite see how the compound rides really high. Anyway, I managed to get it all bolted up and the tool on center so here goes....
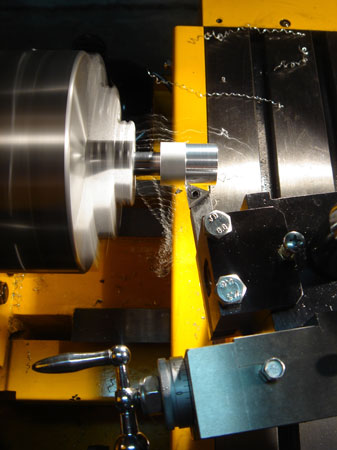
...it actually worked fine. The rigidity seemed okay, but not really ideal in my mind. Of course the right hand tool that came with the machine is junk as it does not have any clearance along the side. Grinding clearance onto it would mean grinding the shaft of the tool as well. I had to go with the side point of an indexable tool.
Good thing I put them on the handle so I can get enough clearance between the main cutting pont and the chuck jaws.
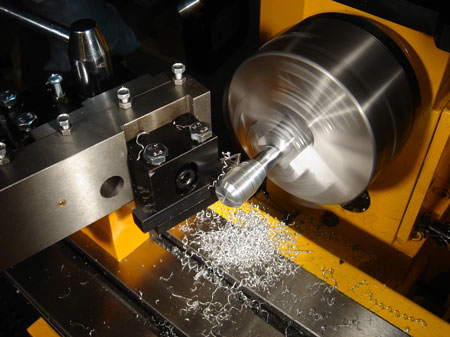
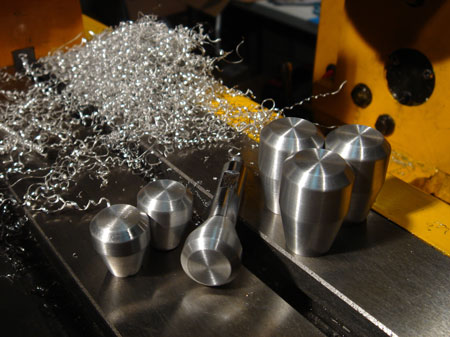
Just a glamour shot here. I turned all the knobs with a 45 degree angle. Next I went back and cut the long taper.
Hey these are turing out pretty sweet.
Well here it is. I finished the knobs off with a maroon abrasive pad. I didn't really keep the proportions the same on the big and small knobs. I just went with whatever seemed to feel right. The smaller ones are a little fatter.
Yep, waaaay better than plastic knobs. I wonder what else needs a knob? My car maybe?