
After months of searching I finally found a good compound slide for a decent price. This one is from a Clausing 14" lathe. A bit big for the ST but I get a full 3 inches of travel, more rigidity, better adjustability and a great place to perch my KDK quick change tool post. I bought that from a local machine tool repair place with about eight tool holders.
Obviously this is the finished result, so let's take a step back.

I found a six inch OD solid aluminum round in the junk pile.
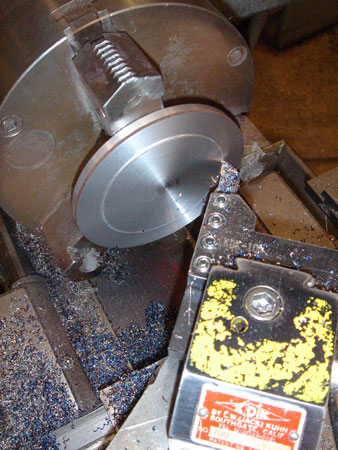
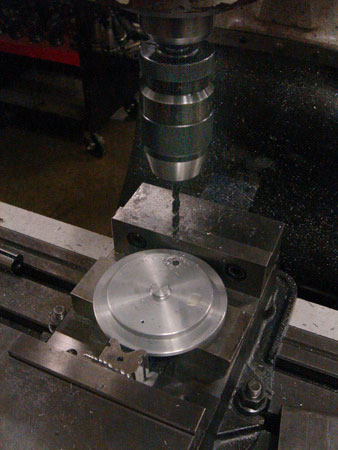
Next I releived an area for the steel plate that bolts to the actual compound. This aluminum pice will bolt to the table and the recess will alow the compound to rotate without touching the table.
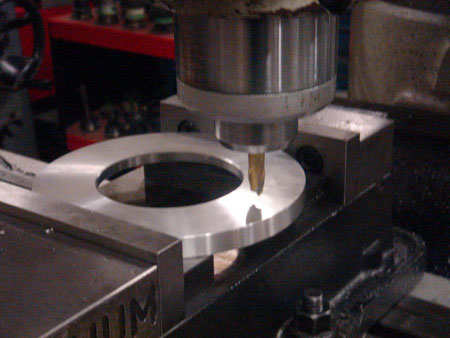
Another piece from the junk bin. Aren't those handy? The compound has a hole in the bottom center, and this nub will locate the hole.
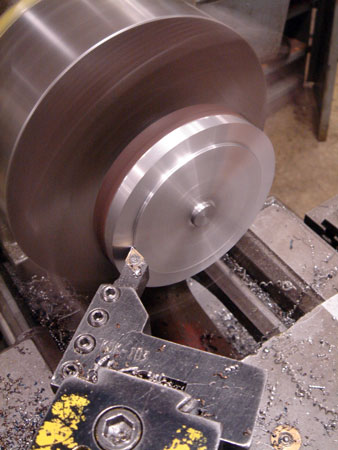
Here I've flipped the part, runing the lathe in reverse, and feeding the tool in from the back side. A couple more passes to go.
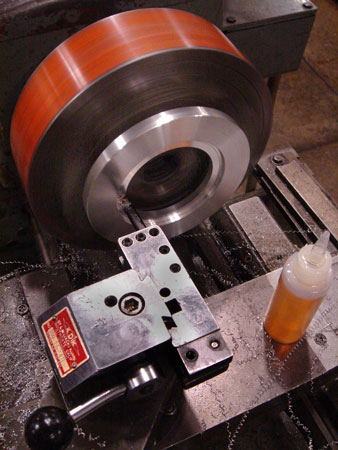
My favorite feature on the Sony T7 is the macro mode...if you haven't noticed. Tool by Seco/Carbaloy. I haven't used many indexable tools, but the difference in performance betwen this Seco and the five tool set I bought with the ST...is reflected by the difference in price.
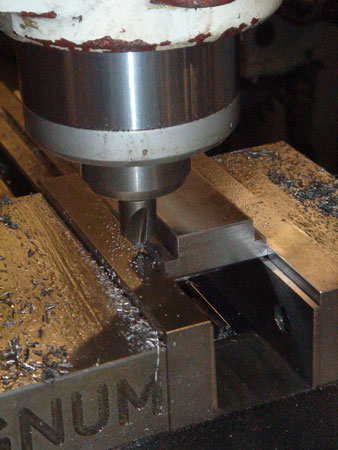
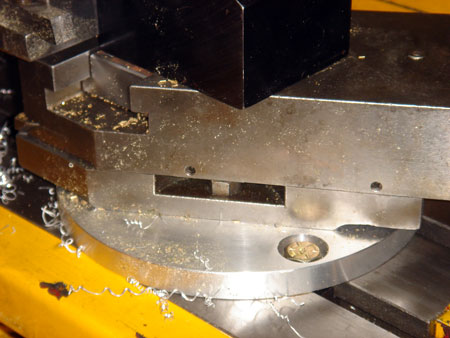
Next I had to drill two holes in the steel place to receive the two mounting bolts. I clamped the compound in the vise and located the center of this hole with the LC/EF. Then measured the distance between centers.
Since I turned the steel plate to the exact diameter of the compound's base width, I just transfered the steel plate to the vise and drilled/counter bored from the location I determined in the previous step.
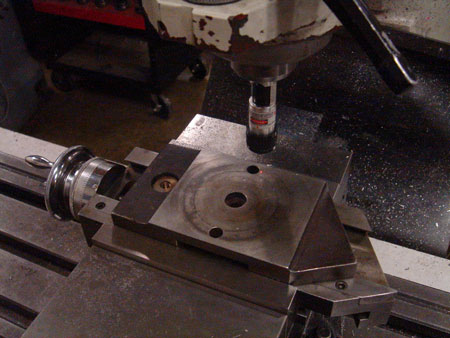
Next up was to drill and counter bore the mounting holes that will fix the base to the table. Since the base is round, I don't need to determine the exact spacing of the T slots in the table.
The final step was to make a T nut so I could mount the tool post to the compound. Pretty straight forward machining here. In this step I'm putting a slight chamfer on the edges with a single flute countersink.
Here is the final result! This is one of the best upgrades I've done yet. It really goes a long way to eliminate the frustrations of a 3-in-1 in terms of changing tools, extra tool holders are readily available and the precision is top notch. I even ended up with a couple tool holders that will take 3/4" tools and a boring bar holder for a 1" bar.