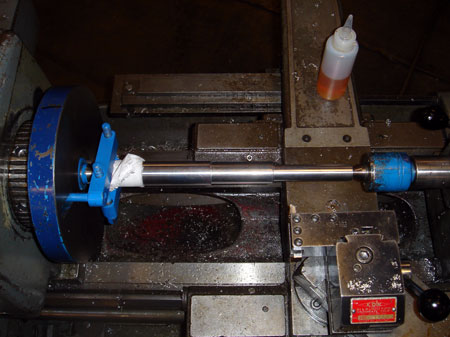
One of my class assignments was to make a machinist's hammer. Okay, that sounds handy. Obviously this isn't a shoptask It's one of the Clausing's in the school's shop. A little used but works great.
After working with these for a few days I went home and looked in the garage, surprised to find my Shoptask much smaller than I remembered it.
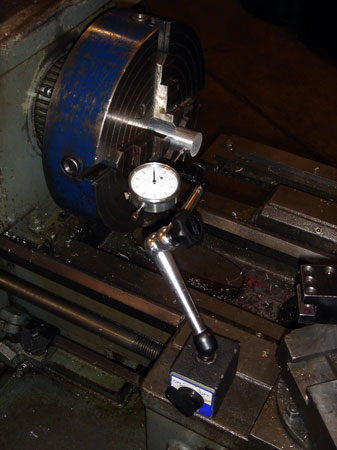
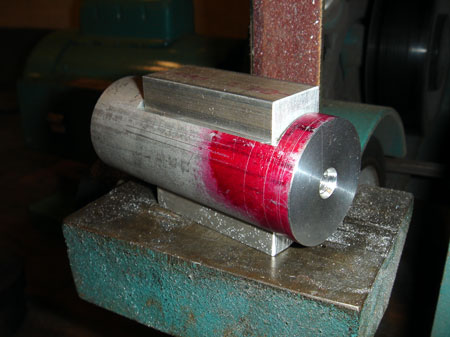
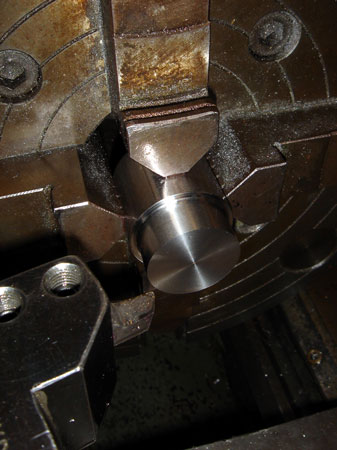
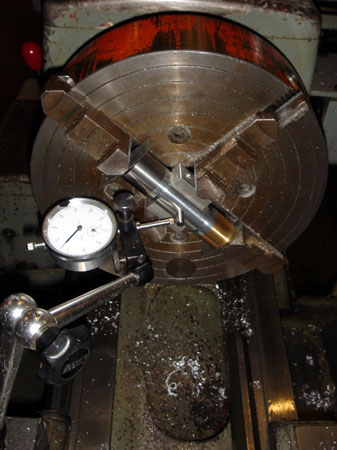
Here I'm indicating in the aluminum round that will be the hammer head.
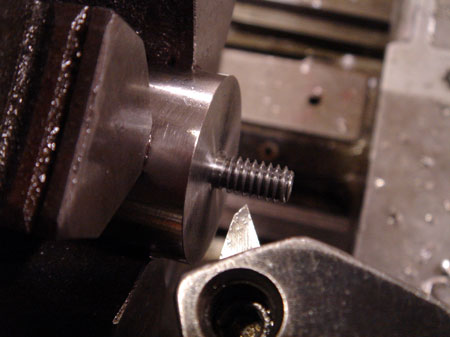
This end was faced and tapped 1/4" 20 to receive one of the end caps.
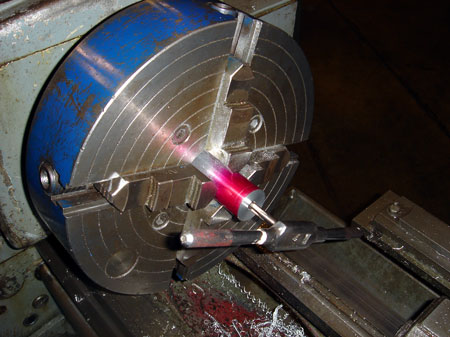
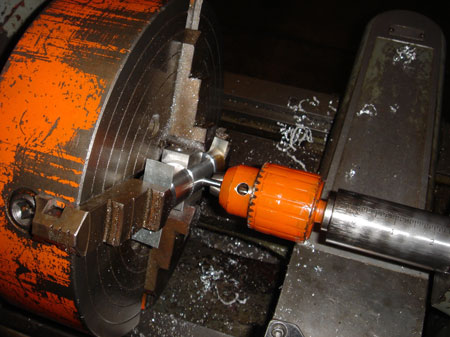
Now it's onto the mill to cut some flats on the side of the hammer head. With the laser I can locate the end of the part and center at the same time...now that's pretty crafty if I may be so bold.
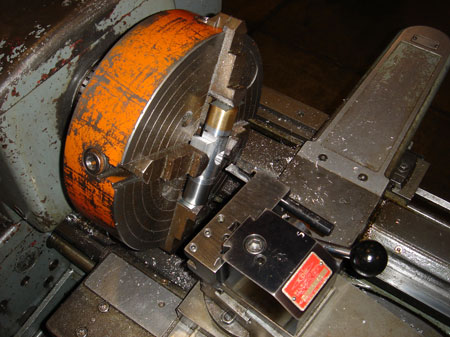
Oops, I realized I would have to change my setup to make the cut I needed. So...I flipped it around in the vise and lost the V blocks. I flatted one side and then flipped it over to flat the other side.
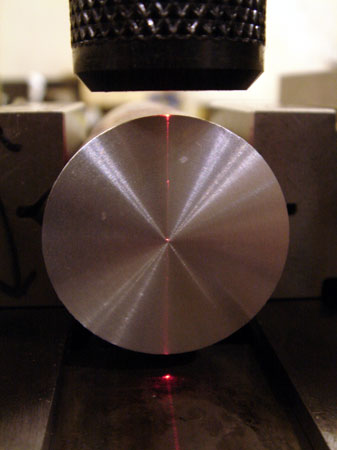
Again I used the laser to locate the end of the part against the jaws. I could have cut the flats with the side of the endmill but this saved me from locating the center of the round.
This is a bit out of order. I turned a series of steps in the handle first. I was working from a set of drawing that were provided and my goal was to keep everything within a thousandth. So far so good.
Both ends were center drilled and the small end was tapped 1/4" 20 for the bolt to secure the head.
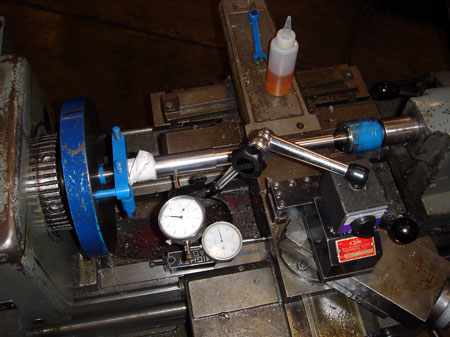
Next I had to set up to turn the taper using the taper attachment. These dial indicators sure are handy...one of the more interesting setups I've learned in class.
A few passes from finishing the taper. My calculations came out pretty darn close for my first cut with the taper attachment.
I ground this tool bit for another one of our assignments. It cuts!
Yep I got so excited with the knurling that I forgot to take any pictures of the process. The grooves were cut with a radius tool I ground with a 1/4" radius on one end and 1/8" on the other.
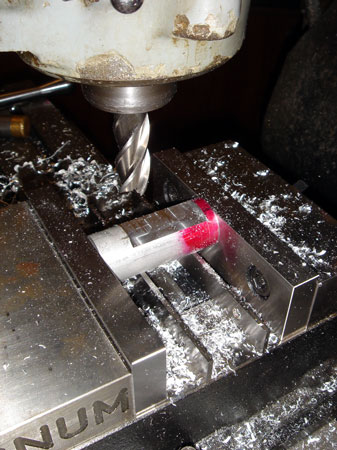
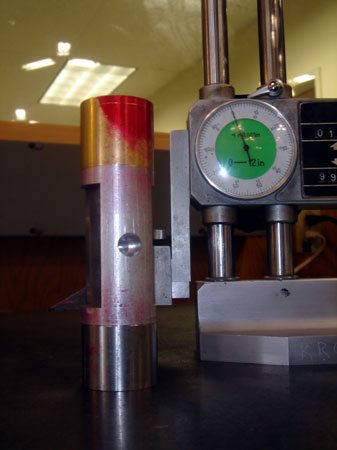
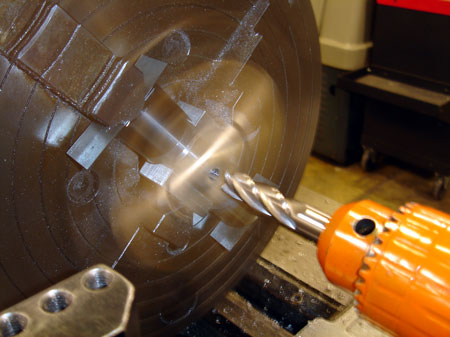
The handle is finished except for turning a short taper on the small end that will seat into the hammer head. The hole in the head was drilled and reamed to .25" using the mill. I used the laser to locate the vertical edges, much easier than trying to find the round edge that I milled away.
The head was going back on the late so I cut a couple of blocks so I could clamp it back in the 4 jaw.

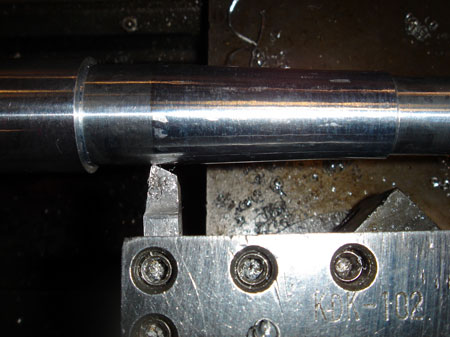
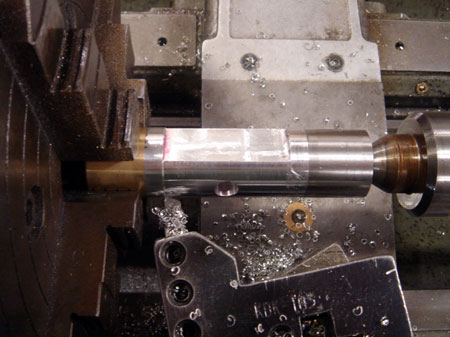
Hey that's pretty cool! It works! I've turned down the end in preparation to cut a 1/2" 20 thread for the brass cap I will be making. Grinding a threading tool was another assignment. Let's see how I did.
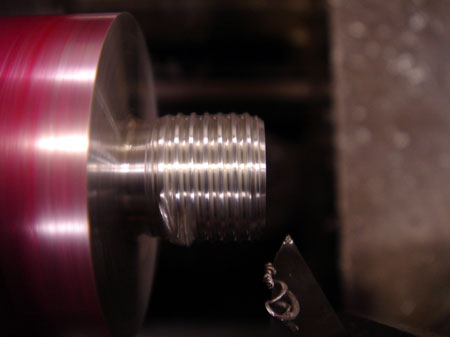
Getting there! So far it still looks like one thread.
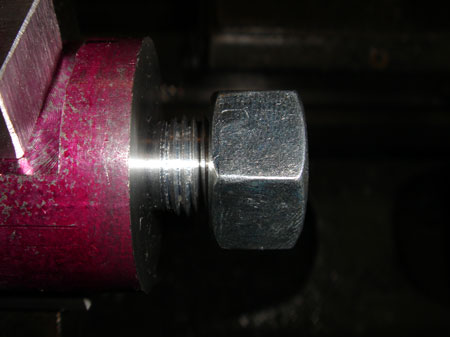
Yep, that's a fit! I was going for class III and I think I came reasonably close. We'll have to see how the brass head fits when I'm done.
This was my first "real" thread, that is one that actually had to have something threaded on it, so I'm pretty excited my threading tool and my brain were operating together.
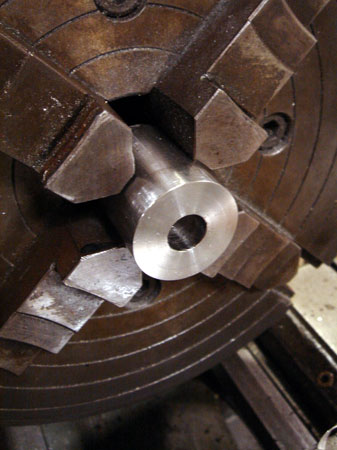
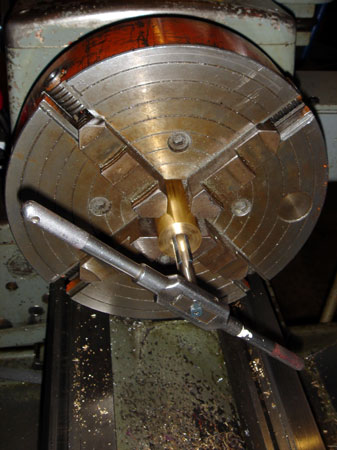
Ah, onto the steel portion of our show. I'm actually going to make one head of the hammer into a draw bar wrench so I bored this hole to be opened up later on the mill.
However, I still need to thread the other end so I flipped it and turned it down to 1/4" inch...in the next shot.
Hey hey, my threading tool worked twice! I know it's not really that exciting but I'm pretty excited. If you told me I was going to be grinding lathe tools a year ago I wouldn't have believed it.
Here's the brassy I mentioned. This is tapped to 1/2 20 and parted off. Also, my first time machining brass. I like it.
Starting to look like...a different colored metal thingy.
Back onto the 4 Jaw we go. So, remember that reamed hole? (This was a suggestion from the instructor, clever guy) I chucked a dowel pin in the...chuck, duh...and then slid the hammer head onto the pin.
Basically this holds the part on center so I can make a rough but accurate first grip on the part.
So now that I have the head clamped roughly, I can leave the dowel pin in the hole and indicate off that! Looks like my instructor knows a thing or two about machining.
Now that we've found the center of this hole I'll hit it with the 1/2" endmill. Gently now.
Time to use the compound to cut a 7 degree taper into the 1/2" hole.
To get the caps to blend perfectly I just chucked up the whole thing. Since my steel part had a hole it was easy to stick it with the live center. I wasn't worried about marring the brass in the step since I would be turning it down.
It's only machined down to the edge of the flat so I can come in with a grooving tool and hide where I had to stop and flip the part to do the other end. To finish this end I used the clamping blocks I cut earlier and chucked up the head, instead of trying to wrangle it with the tail stock for support.
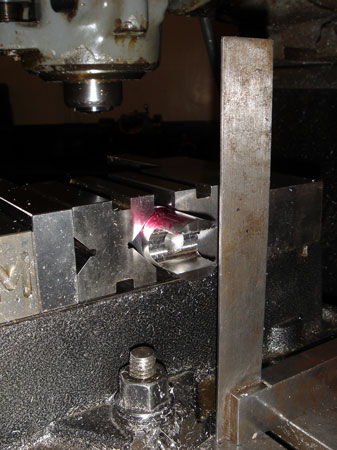
Back to the mill. Time to make this thing into a wrench. I milled out the interior of the jaws and rotated the part 90 degrees. The caps are on the hammer body and I'm clamping the body with the V blocks. I had to screw it on really tight to keep it from working loose as I milled.

Kinda hard to see but I'm using the LC/EF again to locate a scribe line on center to zero the DRO and finish this thing up.
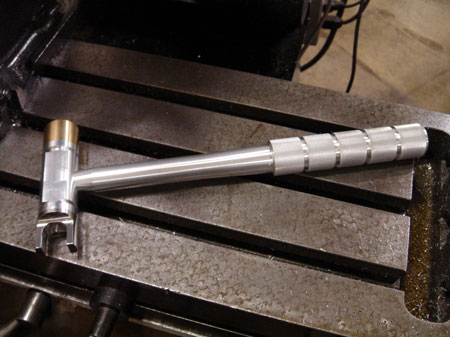
Okay okay, I got carried away again and forgot to take any more pictures. The wrench part actually came out pretty nice.
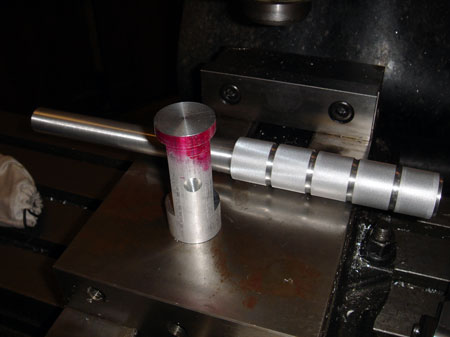
Here you can see the 1/8" grooves.
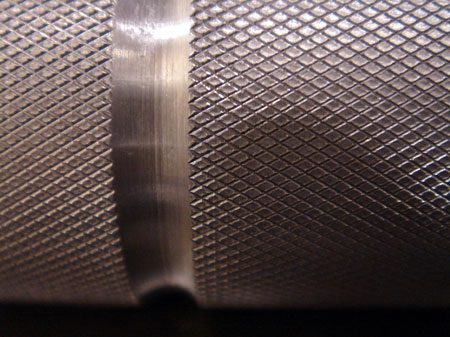
This is the first "real" part I've knurled besides one practice piece. I cut the grooves so the knurling wheels would stay engaged as it transitioned from one band to the other. I also wanted a light knurl, don't think I'll be swinging this thing too wildly.
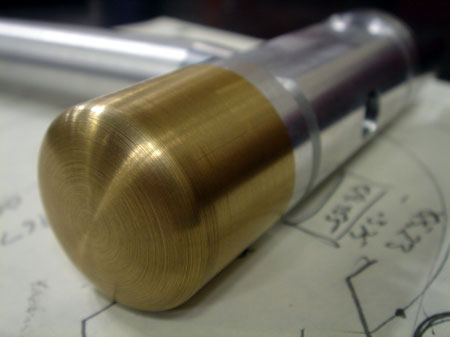
The brass end was roughed in by working the carriage and the cross at the same time. I just finished it up with a file and a maroon pad.
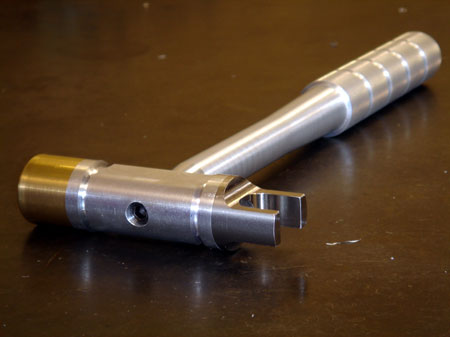
This project took quite a bit of time but was very satisfying and I learned quite a few things I can take home to my Shoptask.