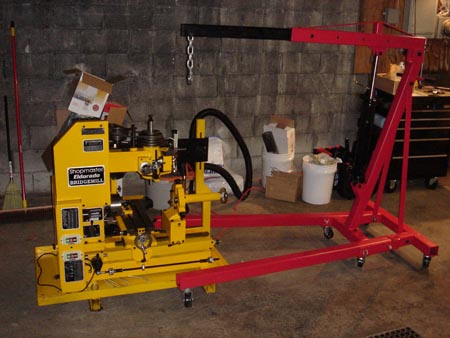
Well, I didn't take any shot of the machine in the crate. It was a pretty straight forward job with a power screw driver, pry-bar, ratchet and adjustable wrench. I ordered this shop crane from Grizzly Industrial.
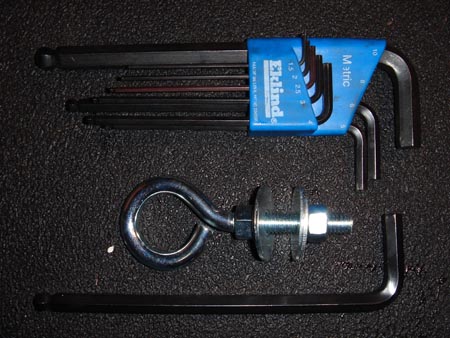
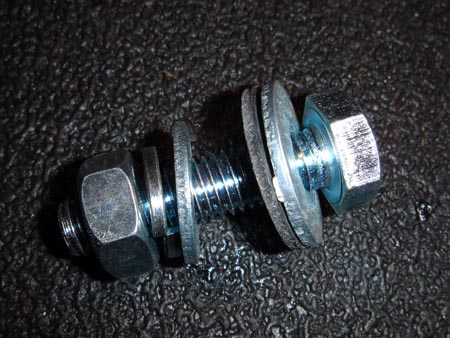
The first thing I did was to buy some hardware to lift the machine. Older models came with lift points on the lathe casting, but mine did not. I didn't know this before it arrived. The only trick here is I used two washers on each side (four total). One sized for the nut and one larger to distribute any side loading.
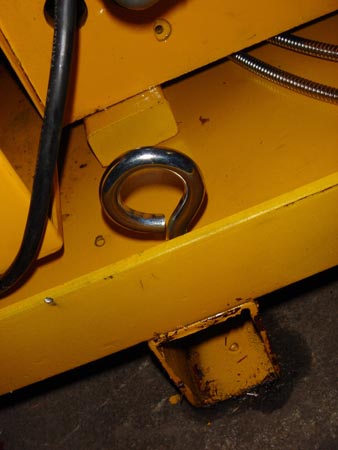
The lift point passes through the deck and the top of the box steel. Seemed pretty solid for a mostly vertical pull. The machine is bolted to the deck through a hole in the bottom of the box steel section which eliminates a previous clearance issue with the mounting bolts.
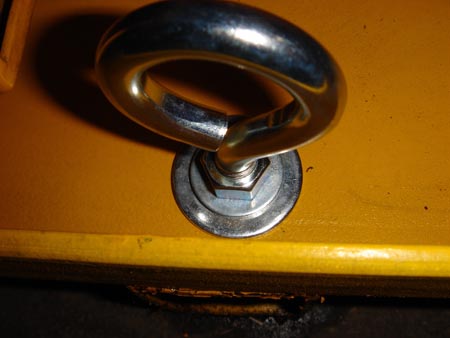
A shot of the washer stack.
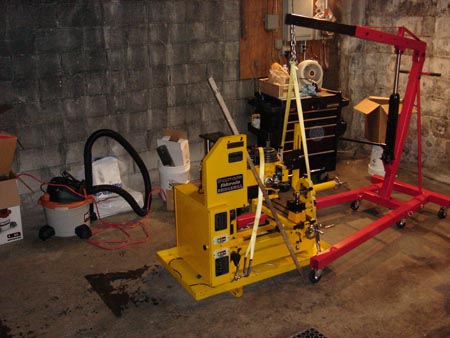
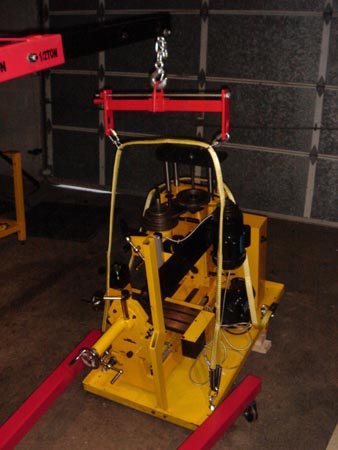
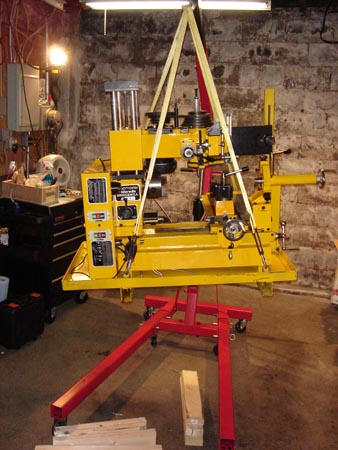
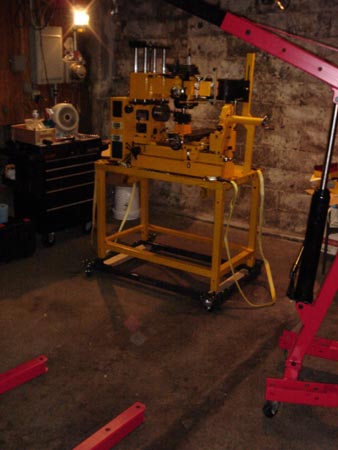
What now? I couldn't get the crane closer to the machine's center of gravity. The tray on the machine hits the legs of the crane. So...I decided I had to lift from the other side (closer to the CG) but the machine was too close to the garage door. I lifted up this end about 1/2 inch and used a broom handle as a lever, under the left side of the tray, to scoot the thing across the floor.
Now I can get the crane in this side. I was guessing the CG was somewhere directly over the chuck. Close but not quite. As you can see the hook is over the chuck but there is some angle left in the slings even with the load leveler. I could start to lift, but the machine would swing towards the crane and wedge between the legs.
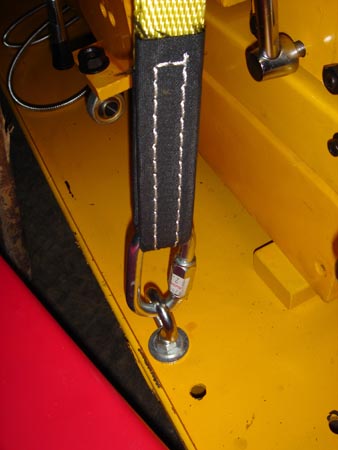
I also bought these slings from Grizzly. They were 8' long with 1" straps and a capacity of 3000lbs or something way more than I needed. These fitted up nicely with a large screw shackle...the biggest one my local hardware store had.
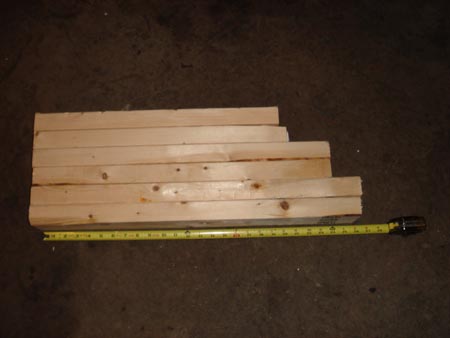
So, no direct lift for me. I cut some 2x4 to use as blocks. The longest ones are 26" which is about the width of the table. I used progressively shorter pairs to help them balance when stacked.
I lifted the heavy end first, it seemed more sensible, and set it up on 3 blocks. Now to lift the tailstock end. I used the leveler here because I didn't want this thing to roll over on me.
I should mention I took off the sheet metal pulley cover and the mill lift cover to keep them from getting bent. Drop the mill head down to lower the CG. I opted to leave the tailstock on and run it all the way to the end of the ways, along with the table all the way to the front, in order to help balance the machine's heavy end.
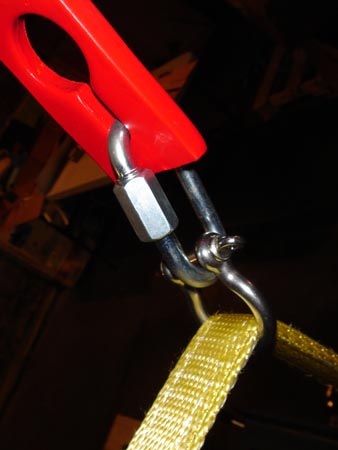
This is the setup on the leveler. Not the recommended way to use a pin shackle either. If you are smart you will stack some washers on the pin to keep the screw shackle centered on the pin. Since I wasn't lifting the full weight of the machine I wasn't that worried.
Yes I'm aware this shot is blurry. Gotta work with what you have. Up on three blocks with no problems. Getting a bit scary in terms of altitude though. I've never lifted anything like this and I've never used a shop crane before so I was trying to be pretty cautious.
It might look like the legs will fit under the tray...but they won't. Up to four blocks and walking very carefully around the shop.

I wanted to get off four blocks as soon as I could so I didn't take any photos. I once had a bad experience with stacking golf balls and trying to photograph them.
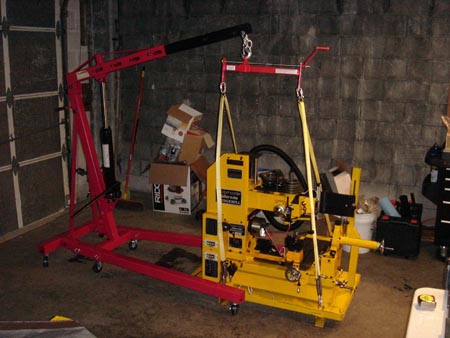
I went one crane leg under the table and one outside and tried to maneuver the hook close to where I thought the CG was. It worked out okay but the machine swung 90 degrees as I lifted it. This will be controlled by how many links you have in the chain of the lifting hook. For me this is the orientation I will be using the machine.
You can also see that I even used the tool post to give me a bit of extra weight on the light end.
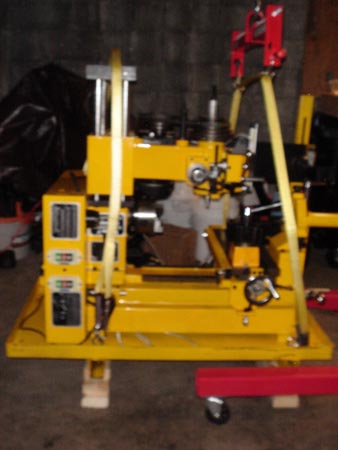
Well we are about up to "table mounting height." I couldn't get it this high before the crane topped out with the load leveler on.
If you stack the straps directly on the hook, as I have done, be careful. The strap towards the open end of the hook should go on first.
As you can see the front left corner is the lowest by almost 6 inches. The machine isn't in any danger of rolling or flipping, but setting it on the bench was tricky.
First I put the bench under the machine and set it up on 2 of the 2x4's...otherwise the cross members of the bench sit on the top of the crane legs.
Then, starting at the low corner, I lifted the bench up to the machine to put the bolts in, instead of lowering the machine.
This is the stainless hardware I bought to replace the table mounting bolts. The ones that came on the machine had mashed threads, burrs, flash and were packed full of casting sand and paint chips.
I added a neoprene washer in here to help seal the tray from leaks. I had planned to use blue silicone as well, but I didn't bother. I'm not flood cooling any time soon.
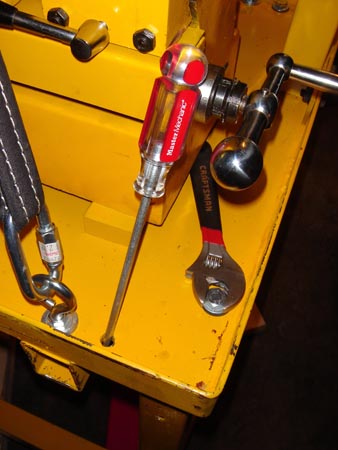
They all went in but the last bolt...2 on each corner. I had to use the screwdriver to lever the holes into alignment and then tighten the one bolt. This is a three hand job but I used the adjustable wrench with the handle seated against the machine mounts. This way I could lever with one hand and turn a ratchet in the other. Of course to take a picture of that requires four hands and that's beyond my technical abilities.
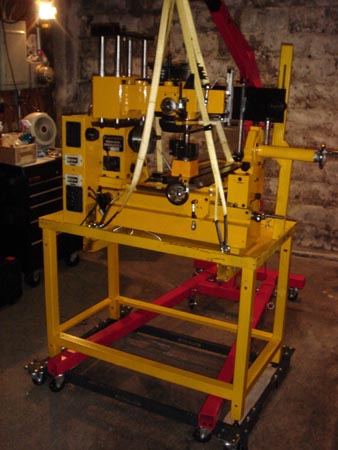
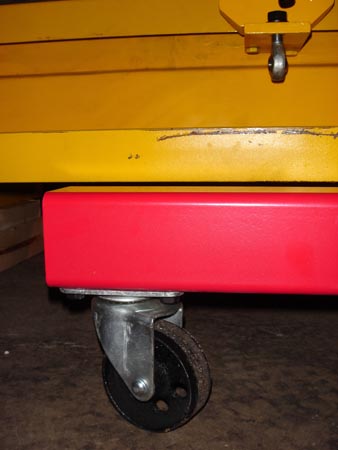
This is now on top of my "Shopfox Super Heavy Duty Mobile Base" from Grizzly. Don't forget the extension set. The machine is now on 2x4's to make enough space between the table cross members and the mobile base to pull the legs out.
You can see the legs I pulled off the crane to get the thing out from under the machine. Except...now the 2x4's are stuck between the machine and the base. I left them in, rationalizing that I could use the extra 2 inches in height. It also allowed me to turn the leveling legs on the table quite easily.
Gee, it was that easy?