I came by a really good deal on this motor that was attached to some defunct industrial pump looking thingy. Only problem was , it looked like the whole thing was partially submerged for some ammount of time. Junk right? Let's find out.
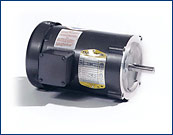
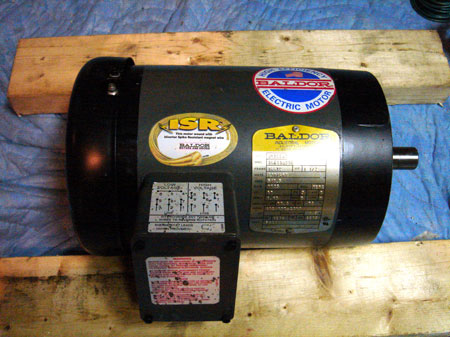
This photo is what a new motor looks like.
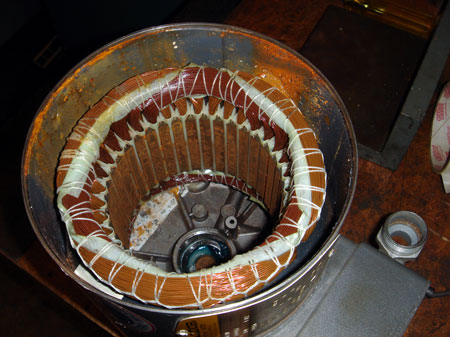
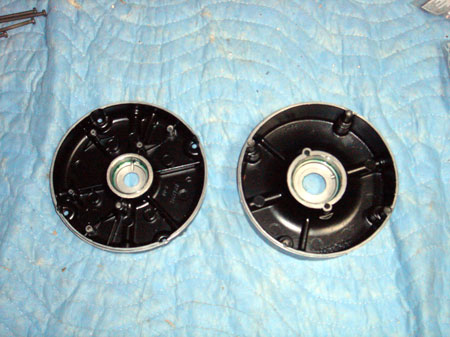
This is my motor. It didn't look too bad from the outside, but looking a little dicey on the inside. the white line (bottom of motor can on left) is apparently the water line.
Another shot of the inside , note the line of schmutz.
A few minutes in the blasting cabinet and we are looking good. One thing to note, blasting medium is really hard to get out of small threaded holes. It took quite a while to get the "crunch" out.
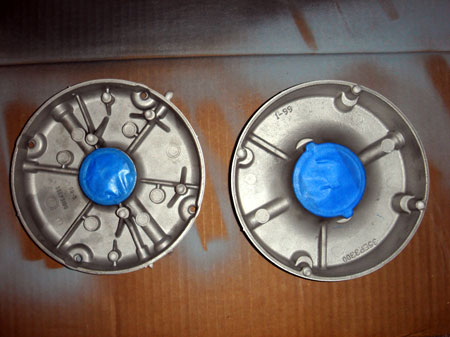
I'm getting a bit ahead of myself here but I also primed them and painted them Rustoleum sating black inside and out.
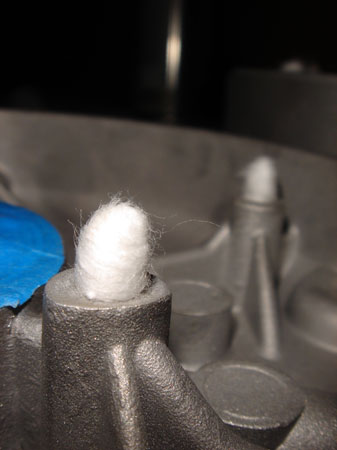
I was trying to figure out how to keep the paint out of the threads and I came up with this. Just clipped off the ends of some Q-Tips and screwed them in the holes. I wonder if this would have worked for the sand blasting as well?
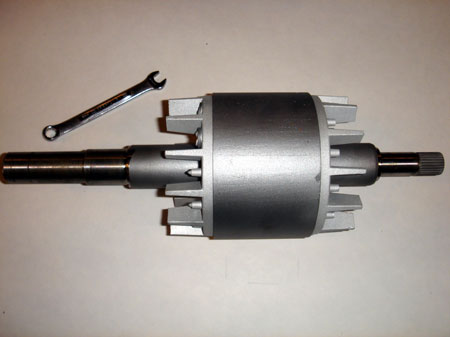
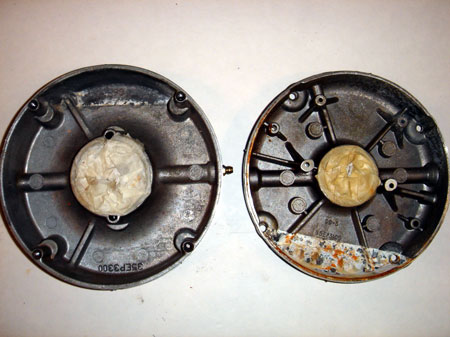
I was in a rush to finish up in the cabient because maintenance waiting to change out the blasting medium. So, I didn't get a before picture. Let me just say it was a horror show. The spindle was clean but all the rest looked like a 100 year old shipwreck. As you can see now, pretty spiffy.

Now that is a cool part!
Okay, so now I needed to polish up the outside and get the last bits of rust out of the little grooves...but how am I going to do that? Fortunately I noticed that both ends are center drilled...which gave me an idea!

I just turned it at about 100 RPM and used a maroon pad to get the red out. Then I followed up with some crocus. The finished result is actually the first picture.

I bought a new set of bearings as well. I didn't have anything to drive them on, so I used a roll of painters masking paper. The inside of the spool was just bigger than the mtor shaft and the rest of the roll is dense enough to allow hitting the end with a mallet to drive the bearings on. They went quite easily with a little grease.
I also cleaned out as much of the oxidation on the can's inner walls with a paper towel and a stick. Came out better than expected.
Well, all back in one piece. I painted the fan cover as well. Looks pretty sharp I think. Will it run? I'm still waiting to find out. Gotta electricianeer some wiring and switches.