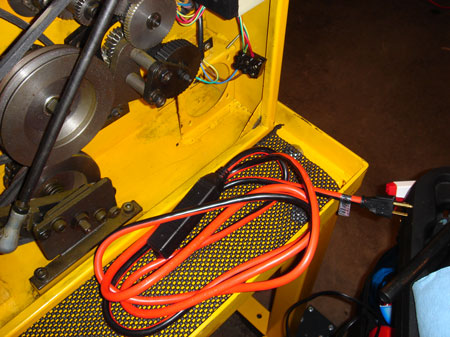
This is the cord I'm gong to use for the replacement. I wanted a yellow one but they were out of 14GA cords less than 25 feet.

As you can see a big improvement over the stock cord. I mostly wanted more length, but not too much, and I figured the heavier wire couldn't hurt since starting one motor while the other is running can peak at 25 amps.
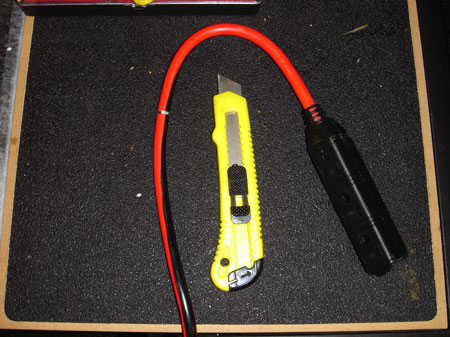
First thing I did was cut of the three socket strip, leaving enough cord to use it for something else in the future. I always use a knife to do my electrical work. I find it comes out much cleaner than using wire strippers. Especially with this kind of cord, you can just score the outer casing and then bend it to make the cut expand all the way through without hitting any of the wires on the inside.

I "worked" the cord till I had exposed enough wire to get my cable cutters in there. These are for cutting bike cables but they work great for this too. Now all I have to do is figure out the wiring on the machine...
 Motor Wire's connected to the..
 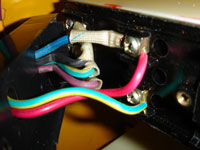 Switch Wire's connected to the...
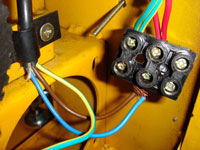 Junction Box connected to the...
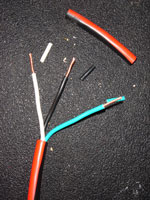 New Cord.
Okay if you noticed that virtually none of the wires are the same color then you are right. I spend quite a bit of time trying to trace the leads back from the motor when I obsessed about it being in the manual and finally found it.
I looked in the manual a lot. It's not organized in such a fashion that you can...say...locate information.

Never the less I located the magic golden key. The switch tell us "line 1 is your black wire" and "line 2 is your white wire." Eureka! I have black and white wires on MY cord! The original power cord had wires that were brown, blue and green/yellow. Ever seen that before? Maybe they are metric colors or something.
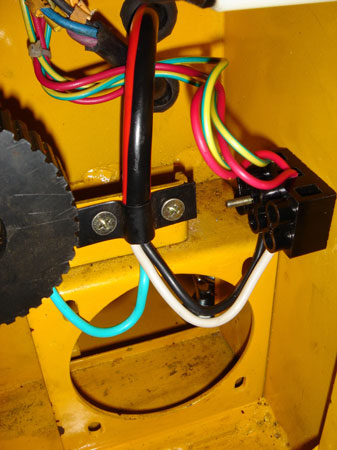
This is what it looks like. Turns out that Line 2 Neutral is RED on this machine...of course. And Line 1 Hot is Green/Yellow...go figure.