Tool Height Gauge
While I was waiting for my machine I did a lot of research. I found a very cool thread on the Home Shop Machinist BBS on all different kinds of tool height gauges. This thread is worth checking out if you are the kind of person that gets really excited about tool height gauges.
I liked the one by "gkman11" the best so I decided to do my own version. It seemed like a good starting project for the lathe and I could incorporate facing, turning, parting and taper cutting all in one little project.
I cut my stock so I would have about 1" of material to grip. In retrospect I could have cut it exactly to length, but this was my first real project and I didn't want to end up screwing up the whole piece.
Oops, I got distracted and finished the whole thing without taking any photos. Nothing too complicated here though.
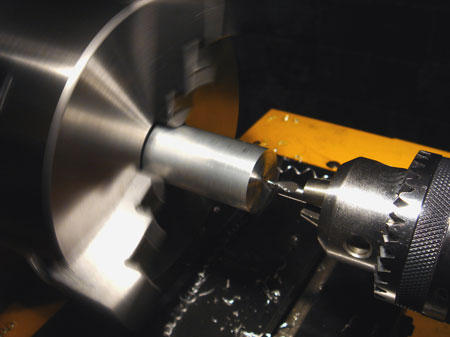
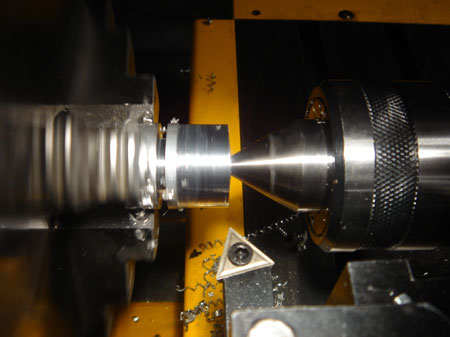
There is one question however...how do you measure the center height to make a tool for a reference point? I used a dead center in the tailstock to make the initial set for this turning tool. Now if you remember my tailstock height is a bit high. I just set the tool a "bit" low compared to the TS center and then made some facing cuts and adjusted till the tool didn't leave a little nub at the center.
Then I just measured the tool height with my calipers and faced the billet down to the right length after I had parted it, leaving some excess so I could adjust.
So I had this short left...what to do? How about a tool height gauge holder? Waste not want not.

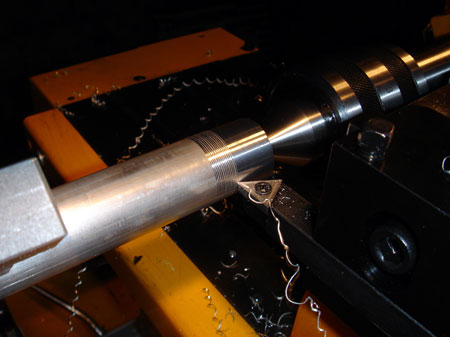
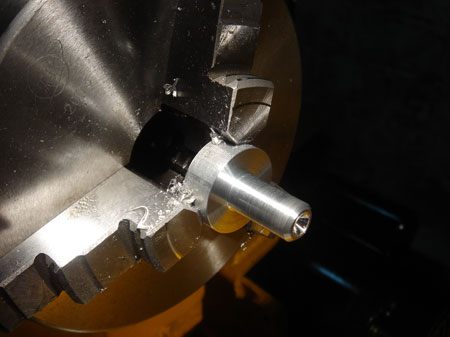
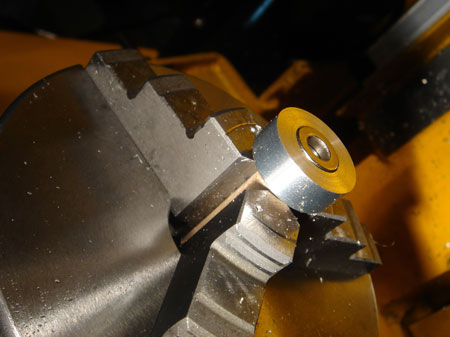
Now I'm not sure why I did this...seemed like a good idea at the time, but I used the parting tool to cut a groove down to my final diameter as a reference point.
You can see the groove here. Then I proceeded to turn down the shaft. I opted for the live center since I was only gripping about 1/4" of the piece.
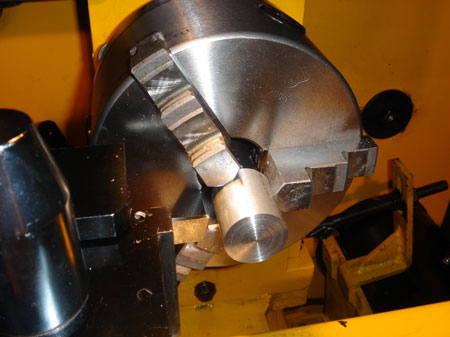
Looking okay so far. Time to flip this thing over.
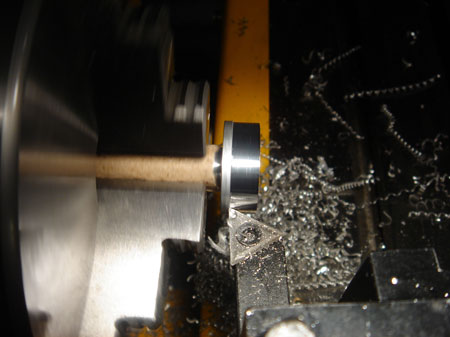
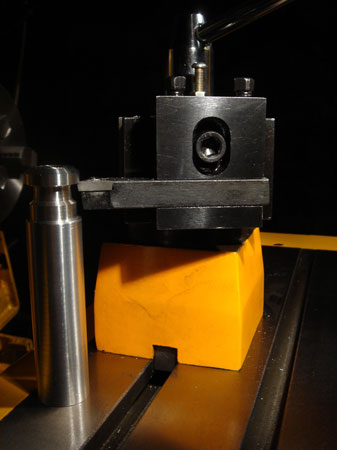
I have no idea if this is the right tool to be using, but it worked okay. I switched up from the first tool just to see if there was much difference. This also allowed me to get closer to the chuck without crashing it.
I used the paper to keep from marring the finish since this shaft would slip fit into the actual base of the tool height gauge.
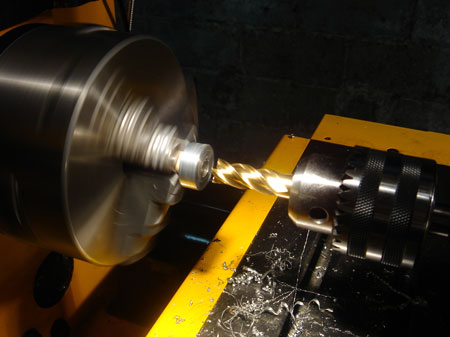
Yep that's and endmill in a drill chuck. I've read in several places not to do this, but I'm kind of crazy like that. I wanted a flat bottomed hole and by golly I was going to get one. I also bored out most of the material so I wouldn't be putting as much torque on the endmill.
I had a bunch of magnets lying around and I thought this would do nicely. I used the doughnut magnet and let it port rude slightly from the base so it could sit flat even if there was some debris on the mounting location. Seriously...I made it stick out on purpose.

Ahem, well if I was as smart as I think I am I would have bored out the tool before making the holder and then hand fit it. But this worked out fine since I did remember to measure the drill bit. It's a bit sloppy but pretty close.
Here is the new home for my tool height gauge. The thing to the right is the Laser Center/Edge Finder and holder I made for it.