So I had a project where I had to drill 1200 holes and I thought a jig might be a lost faster than using the bolt circle feature or rotary table.
There were 100 parts that needed 12 holes each. So...I decided to make a little jig out of some scrap MDF left over from my saw table project.
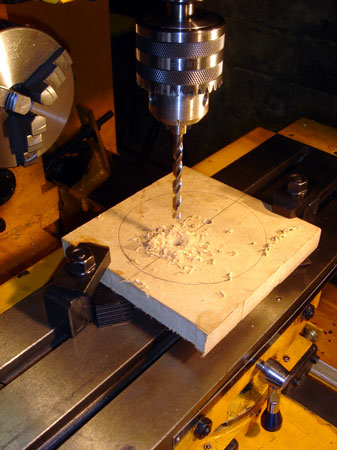
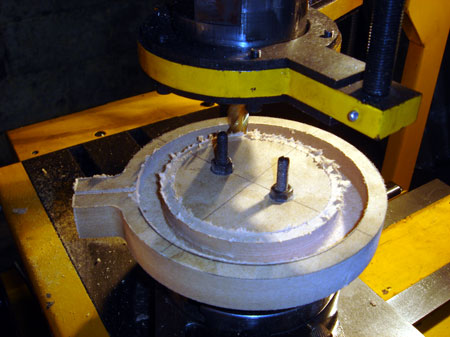
As you can see I drilled a couple of holes so I could mount the MDF to my 4" rotary table. I wish I had more RPM here but I opted for a 1/2" endmill and conventional cut a circle out of the piece.
I left a copule of tabs and cut the part out with an Xacto.
This first block is going to serve as the base of the jig.
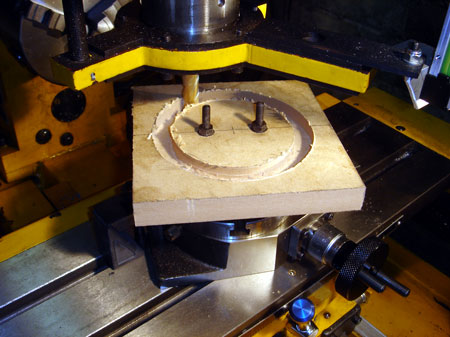
Next I used a 1/8" cutter from my dremel tool to cut a slot 45 degrees to the corner of another block. This worked nicely if I didn't feed to fast and flex the tool.
After I cut the slot I cut off the corner and then milled around the outside. I made a couple of pencil marks to indicate the sides of the tab and used the Y feed to make the flats.
Then it was time to cut out the part like the last block.

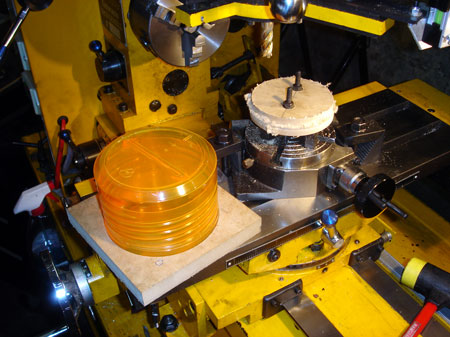
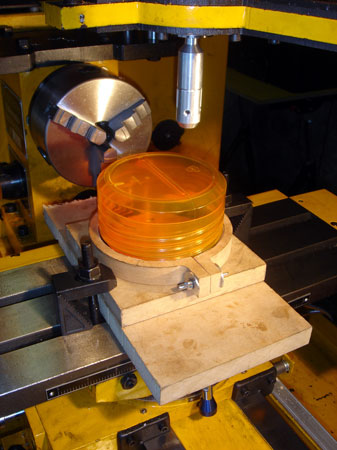
The blue thing is the part I need to drill 12 holes in. I set a bolt circle with my DRO and made 16 holes. A little machine screw drops into the holes and will allow me to index the part.
The collar clamps the part with a wing nut and some washers. I set the seam parallel to the Y axis using my LC/EF. The collar is indexed so the screw is at the 9 o'clock position. To cut my first hole I index one position over. I just hold the assembly down by hand as I feed the tool.
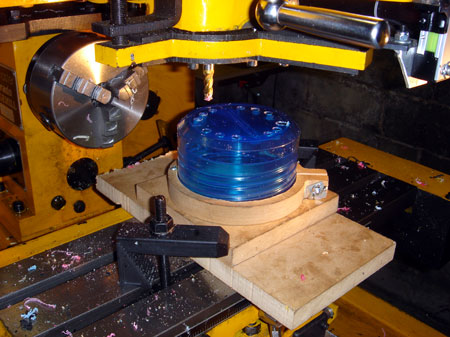
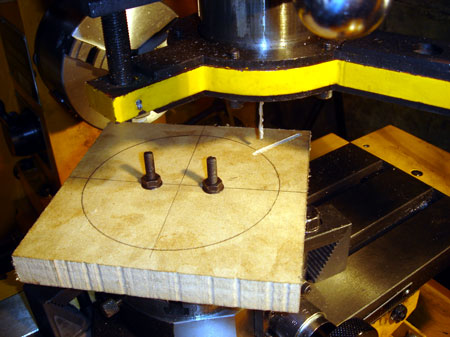
12 holes evenly spaced in groups of 3. Nice! This worked great but 1200 holes is still a lot. Since I drilled 16 holes the collar can be in any position when I clamp the part. I just have to make sure the seam on the part is parallel to the Y axis since I'm skipping 4 holes.